|
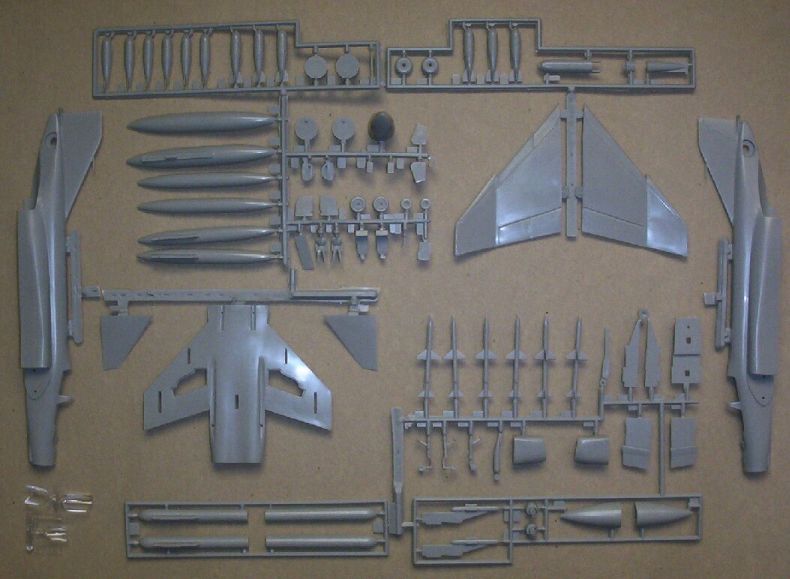
Airfix makes the kit in one large sprue. |
Both the old and new instructions had no painting details for the interior. I used dark green for the pilot's suit, semi gloss black for the boots and mask, flesh for the hands and face, and gloss white for the helmet. The seats and top of the joystick were painted semi gloss black. Looking at a photo of the cockpit interior, it looked sky blue, so I painted it duck egg blue. I later learned that the cockpit should be painted light grey. Using plastic card I added forward and rear bulkheads.
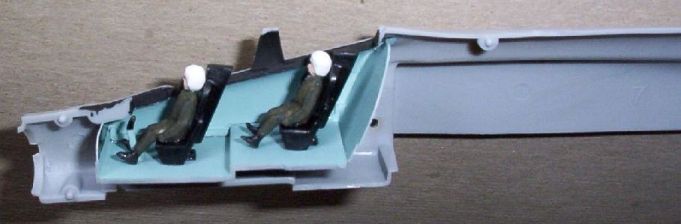 |
Cockpit. |
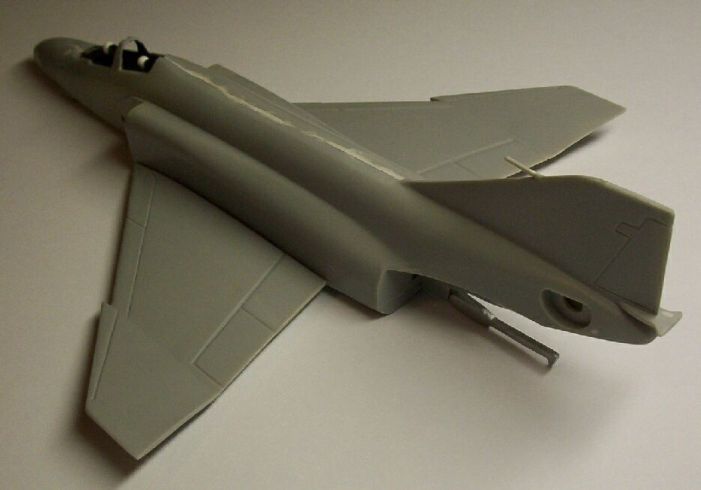
The rest of the kit went together well although there was a huge gap between where the bottom of wings 24 attaches to the front of the fusalage. Plastic card and a lot of putty and sanding were required to fill in the gap. I also added a small piece of plastic card under the rear engines to fix a small inaccuracy. I also added a thin slice of plastic card between the top of the wings 22 and 23 and the fusalage halves 7 and 9 to fill in the gap there.
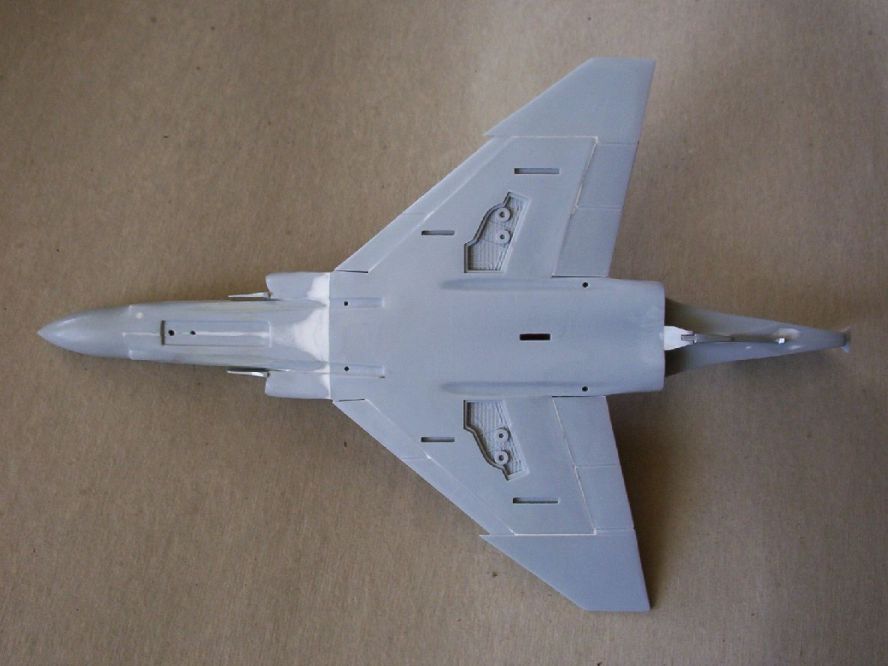 |
Bottom after gaps filled. |
The left wing trailing edge is a lot thicker than the right wing. Using a file and a bit of elbow grease helped make the edge thinner. The top fusalage join also needed some putty. The new plastic felt like hard candle wax, so after some sanding, the joint flattened a little.
 |
Thick trailing edge on left wing. |
One trick I thought up after bending the tail aerial a few times, was to use some masking tape to hold it in place while handling the model. Painting the interior of the engine inlets was a bit tricky. I first sprayed dove grey Humbrol 40 behind the inlet. Since that was gloss, this was then sprayed with a semi gloss varnish. The inlet interior were painted gloss white and the external part part of inlets 12 and 13 dove grey. These were then sprayed with semi gloss varnish. The back of the inlets was painted matt black.
 |
Masking tape on aerial and closeup of cockpit and inlets. |
After glueing the cockpit glass using Testors Clear Parts Cement, the cockpit and engine inlets were masked up using Tamiya masking tape in preparation for spraying primer Humbrol 1. I scribed two hinges behind each of the two cockpit canopies. This was the only scribing I did on the model. I left the raised detail untouched. After sanding and respraying any imperfections, the bottom was sprayed gloss white.
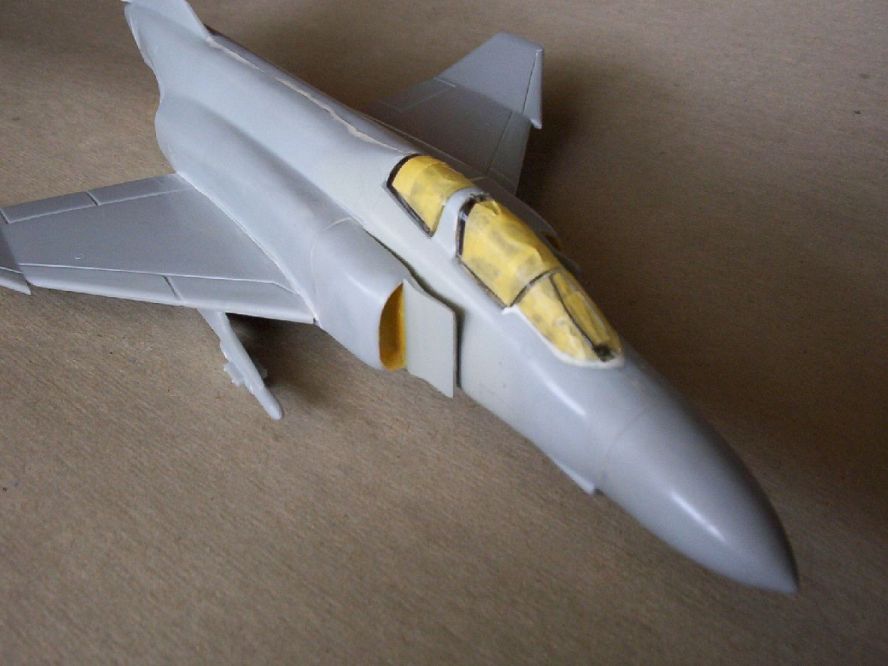 |
Cockpit masked up. |
The bottom and wing and tail aerilons were then masked up in preparation for spraying the rest of the model dove grey. I used newspaper to cover most of the bottom which was a mistake. The newspaper left a smudge on the paint underneath which is hard to remove. I'll be using plain white paper in future. The tape over the aerial was removed.
 |
Top masked up. | 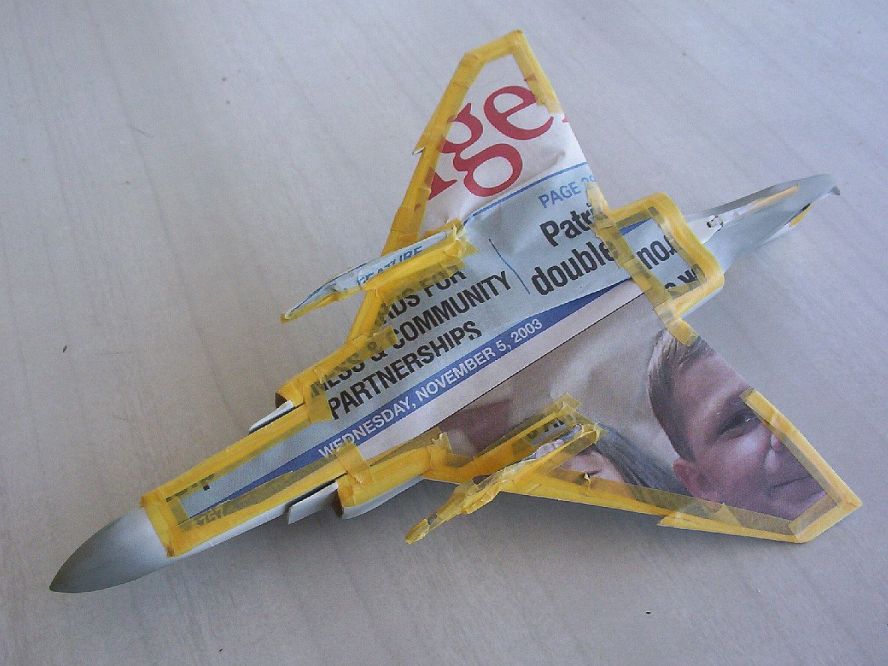 |
Bottom masked up. |
After spraying the dove grey, the masking tape was removed and the nose was masked up to be painted semi gloss black. The cockpit mask was left on. It was at this point that I noticed that Humbrol 40 appears a little too gray. Oh well!
 |
After spraying. | 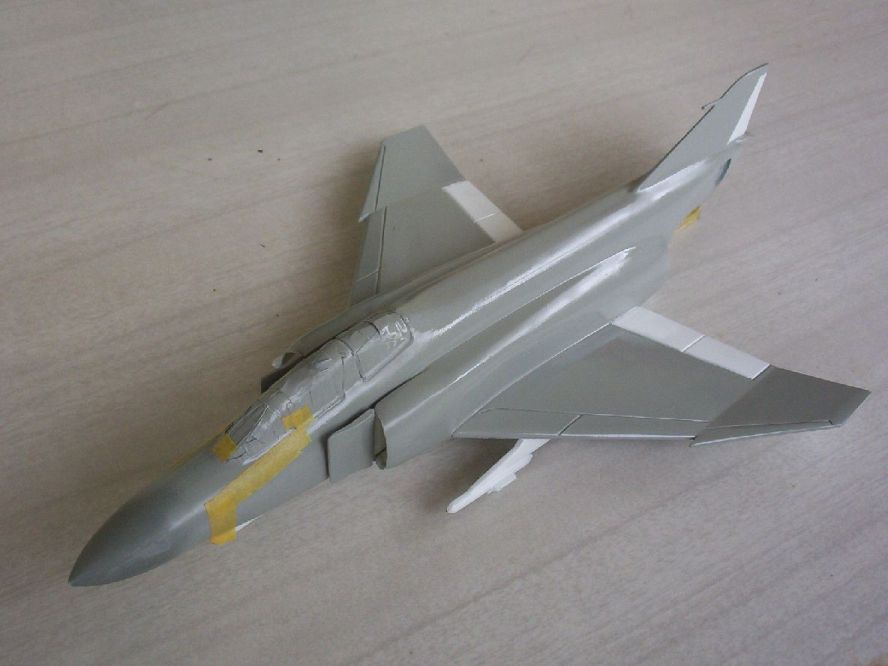 |
Nose masked up. |
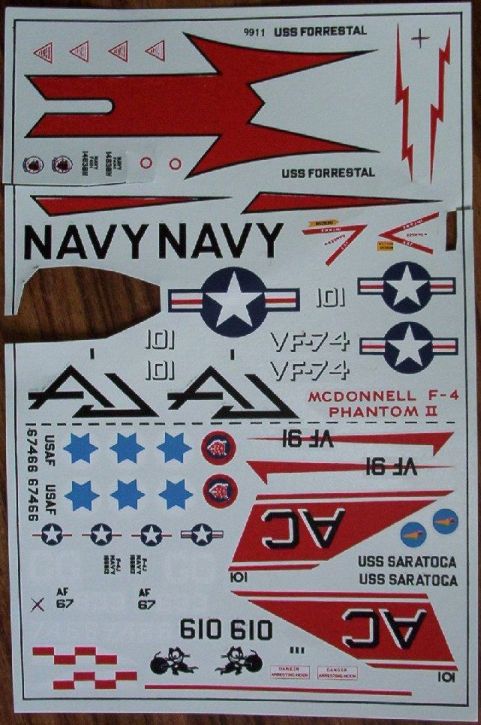
Now was the time to apply the decals. There was some misalignment, but I was not bothered enough to buy new decals. Apparantly, Airfix will be producing all their decals inhouse which will hopefully avoid these alignment problems in future. I also used decal setting solution (basically diluted acetic acid or vinegar) for the first time. It worked great! I cut a bit too much around some decals, like the NAVY and VF-31 decals, which caused some problem with the decal folding on it self. The right VF-31 broke into four pieces while trying to unfold it, but I was able to put it together without any trace that it was broken. The VF-31 is actually printed VF-91. I cut the 9 to make it into a 3 and painted Airfix matt red M19 on the rest of the 9 on the decal. Not a perfect 3, but its pretty close. I also painted some red sparks coming from the bomb carried by the cat.
 |
Decals. I took the image after the first decal was used. |
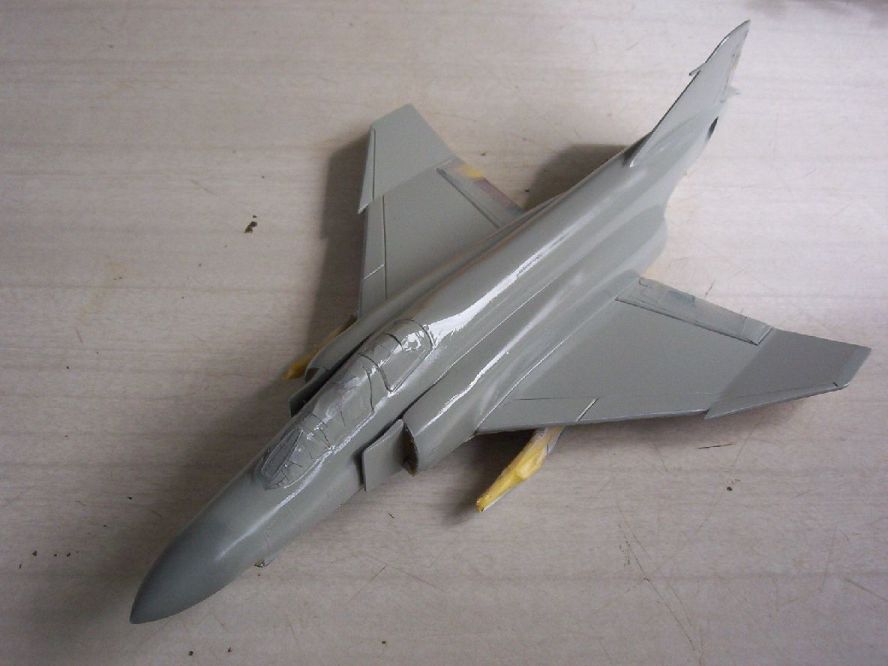
The whole model was then painted with semi gloss varnish. The Humbrol varnish is a little yellow, which shows up on the bottom white surface. Spraying the varnish also makes it a bit more matt for some reason. The back was then masked and hand painted silver using my over 20 year old Humbrol 11. This silver works a lot better than other new silvers I have bought. Hand painting gives a much better finish than spraying, which will give a toy like appearance. I made a step in the line from the engines to the back, which should be straight. Unfortunately, this is too hard to fix.
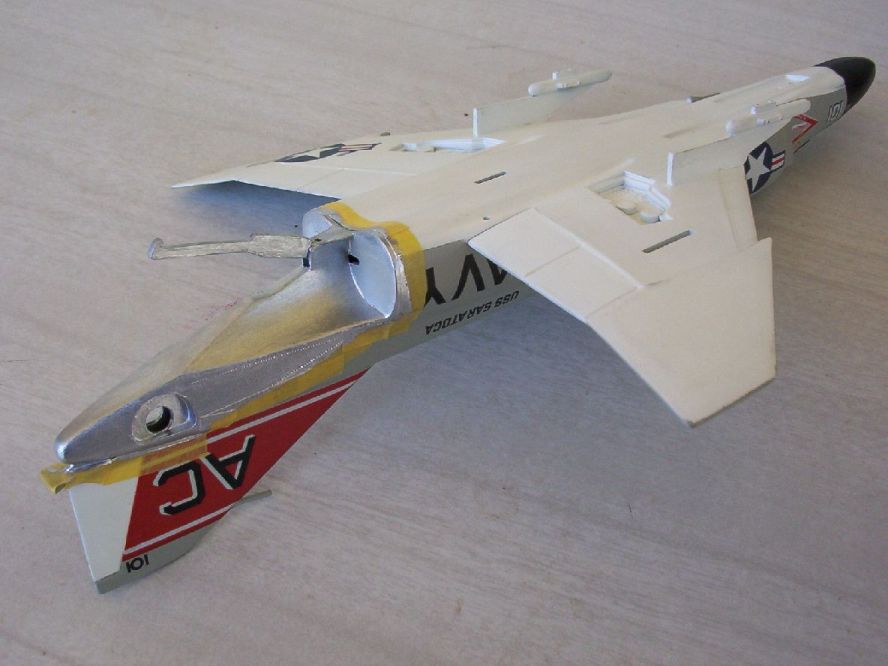 |
Painting silver. Yes, the hook moves and the tail rotates! |
While all the above was going on, I was also preparing the engine exhausts, Sparrow missiles, undercarriage, fuel tanks, M117 bombs, and rear tail wings. The fuel tanks and bombs required no putty, but a lot of sanding was required to get a smooth round finish. A small amount of putty was used for the rear wings. While the main model was being sprayed gloss white, this was also used to paint the fuel tanks and rear wing tips. The landing gear was painted by hand, with the gloss white being covered with semi gloss varnish. One engine exhaust was a bit malformed which required some sanding to get it back into shape. The exhausts were painted gun metal with the inside matt black. The tips of the missiles were painted dove grey. Airfix says to paint the bombs white, but they should be dark green. A little yellow was painted around the tip and the tip itself painted silver.
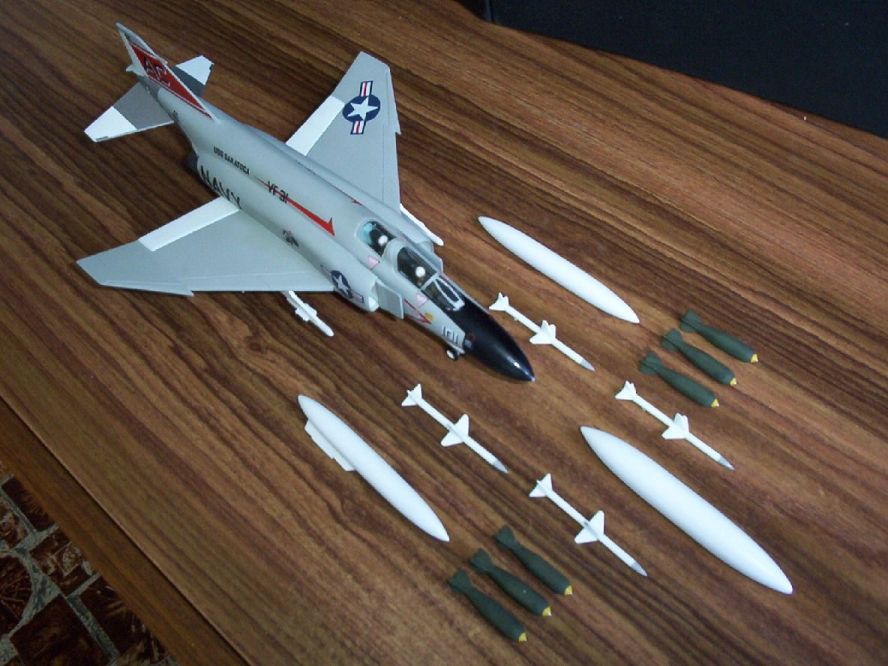 |
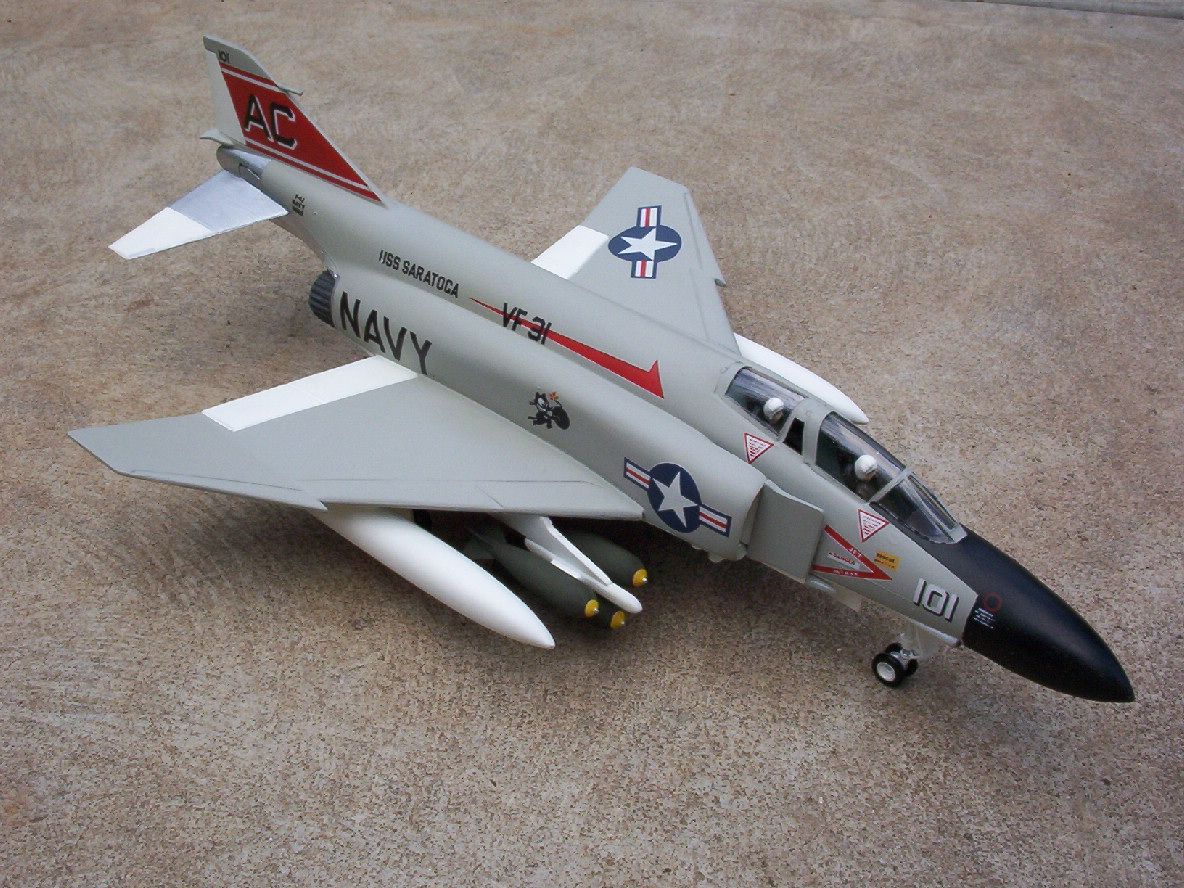
The Phantom sure carries a lot of stuff. |
Attaching the wing fuel tanks was a bit of a pain. The slot into the wing is loose, so I basically filled the slot with glue, and then let the pylon set. I also added clear cement around the join, and then painted it satin white. I put the front gear rear door on the wrong side, but had also put it in backwards, meaning the circle on the door was close to the back than the front. This meant that putting it on the correct side, put the circle also correctly close to the front, which was fortunate. The last step was painting the side windows on the cockpit gloss black. Not entirely convincing, but its the best I could do. After a few weeks sitting on its wheels, the right wheel had a significant tilt on it. As I tried to straighten the wheel, it came off. I scraped some plastic from inside the wheel and then superglued it on. Hopefully, the wheel will stay straight.
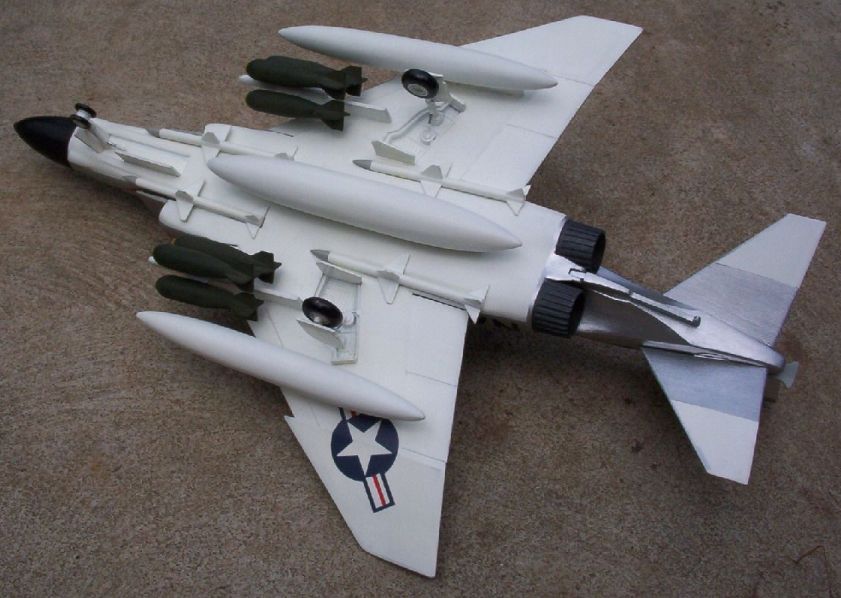 |
Beneath the Phantom. |
 |
Box. |