
 |
Type 11 box in Series 0. |
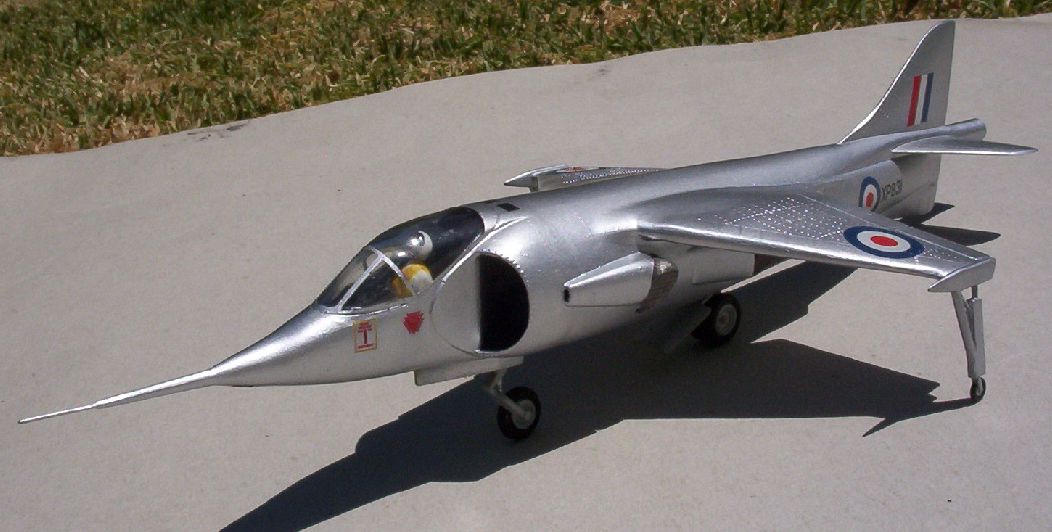
As per normal for Airfix kits of this vintage, there are plenty of sink marks and a bit of clean-up is required for each part. I'm glad of the Airfix reissue as original kits were going for quite a lot of money on eBay. The kit also includes parts for the round nose of the later Kestrel and a rounded tail, which was not used. I decided to build the kit as XP831, before the inflatable intake lips were fitted.
 |
Parts laid out |
 |
 |
 |
Scratch built intake trunking. |
I painted the cockpit H64 Light Grey, with the flat area under the canopy H33 Matt Black. The pilot's uniform was painted in H34 Matt White as per the instructions. Presumably this was what British test pilots wore, although I could not find any photos showing this. The forward thrusters (7 and 9) were painted Steel with the rear thrusters (11 and 13) painted as per the instructions (¾H53+¼H171). The forward thrusters only pass cold air, and thus should not be discoloured due to heat.
With the fuselage halves cemented together, the many sink marks were filled in with putty and H1 Grey Primer. I don't like heavily scribed detail and try not to remove the raised and rivet detail. Test fitting the wings showed the wing root was too shallow underneath. I added plastic card, but created a gouge in the body due to sanding. This was later filled in with putty and H1. After the wings had been cemented, test fitting the outside legs showed that they were about 1 mm too short. I sawed just above the wheel, adding plastic card. For strength, I drilled holes into the card and wheel leg and superglued a steel pin. The model now sits almost perfectly.
 |
Wing roots filled with card |
I found the canopy to be too wide. I sanded down the sides of the canopy as much as dared so that I could get a good fit. I used car polish to restore the canopy clarity. The diameter of the tail cone was also too large. I added plastic card in front of this part and used putty to fair in the tail cone.
 |
Just prior to spraying the first coat of undercoat |
To get a smooth finish, I first sprayed with H1, sanding away any imperfections, and then respraying. This was followed by several coats of Klear, and then finally H27002 Polished Aluminium. The decals went on no problem. I initially put on the black and white round markers, but in looking at photos, these were not used in the configuration I built. Lots of patience, water and poking with a brush was required to get these decals off.
 |
 |
 |
 |
 |
 |
 |
 |