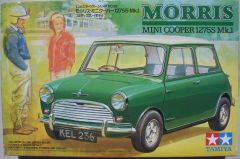

With each wheel very close to each corner of the car, the Mini also displayed remarkable handling. With cooperation from Cooper Racing, special racing Minis were developed and sold. These started with the 997 cc engine in September 1961 (later 998 cc in January 1964) Mini Cooper with front disk brakes. In March 1963, the 1071 cc Mini Cooper S was introduced. This Cooper S range was expanded to options of 970 cc and 1275 cc engines in March 1964. The 970 cc and 1071 cc engines were short lived though, being dropped in April 1965 and August 1964, respectively. UK production of the Mini Cooper S ceased in June 1971.
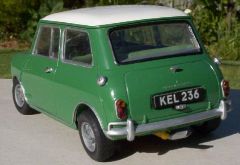
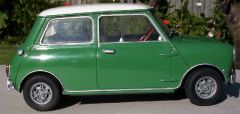
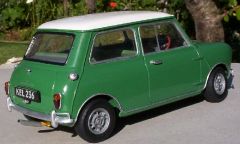
During its heydey in the 1960's the Mini went on to win many races, including the Bathurst 500 in 1966, taking the first four positions outright. I myself have my own Mini Cooper S, a Mk.I the same as in the kit, but with rolling windows instead of the earlier sliding windows.
 |
First issue box. |
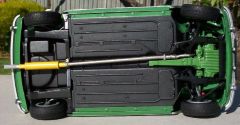
It was obvious in the level of detail, that Tamiya had taken a real Cooper S apart and carefully studied it. However, the air cleaners, rocker cover, wheels, steering wheel, front shockers and exhaust system had all been modified. This meant you could not build a standard Cooper S straight from the box, but only a modified Cooper S. By coincidence, the air cleaners, rocker cover and exhaust system were the same as in my Mini, but the sliding windows meant that I could not build the model as a copy of my real Mini.
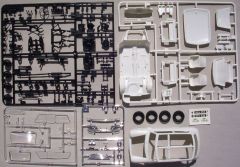 |
Parts laid out |
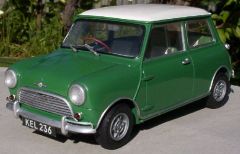
I decided to make the model straight out of the box, including the same Almond Green/White scheme used in the box. One good aspect of having a real Mini in the driveway, I did not have far to go for reference!
 |
 |
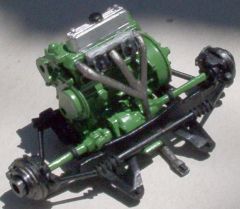 |
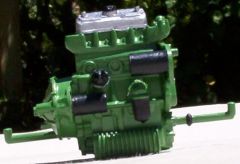
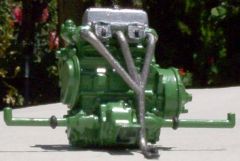
Engine and front suspension |
Another problem I had was part A2 where the radiator B44 is attached. Part A2 is attached to the chassis and forms part of the inner left hand guard. There is large tab which is used to attach A2, but I removed this so that I could get a smooth finish. However, while I was polishing this area, I put too much force and a crack appeared where A2 attached. This meant I had to remask the whole area and spray again, a tedious process due to how I painted the body. I would recommend that A2 should be pinned to the chassis. This is where you drill small holes into the joint and attach a small pin made from short pieces of wire or pins. This gives a much stronger joint.
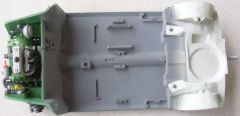 |
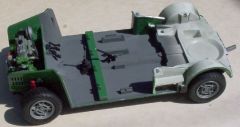 |
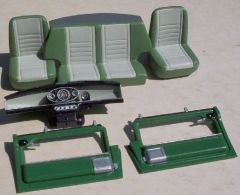 |
Interior and seats |
The interior is quite detailed, with decals being used for the instrument panel. The only problem I has was in attaching the rear pockets A7 and A8 to the chassis. These are meant to be butt joined to the raised areas on the chassis. I had initially glued them in front of the raised areas. The butt join means that there is visible join line at the bottom of the pockets. However, once the body is on, this area can not be seen. This is one area where the part design could have been improved, showing that Tamiya is not perfect.
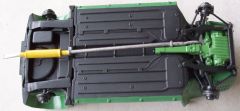 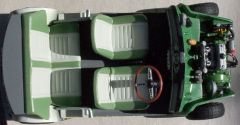 |
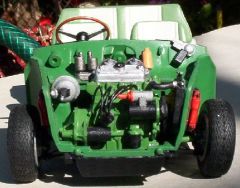 |
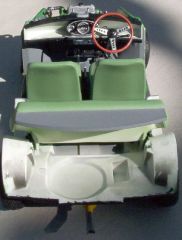 |
Completed chassis |
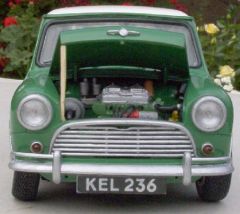
To add a bit of detail to the engine, I cut and bent some thin copper wire for the spark plug leads. These were painted semi-gloss black. The last assembly problem was attaching the body. I had missed the rear slot in the body that the chassis goes into. Also, there was not enough room for the spark plug leads, and as these were not flexible, they broke off. I carefully, removed the chassis and tried again, this time getting it right. The spark plug leads were then added again to the engine.
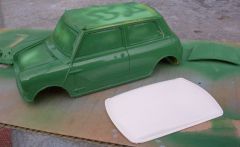 |
Body and roof after polishing |
For inside the body I used Klear (a floor polish, also known as Future in the US). For outside the body I used Humbrol Gloss Clearfix. I used two or three coats to get a reasonable finish. After allowing a week for this to dry, I carefully sanded the paint on the body and roof with 1500 wet and dry paper and water. This was then polished with car polish. This worked really well and I got a very nice finish. However, I had huge problems with the bonnet (hood in the US). As I was spraying the last coat of Clearfix on, I noticed the surface behaving very strangely. Oh no! I was spraying with white spirit! I let this dry, sanded and tried spraying again, but the finish was ruined. The only way to fix it was to remove all the paint using oven cleaner and start again. A very tedious process as I have to spray both sides of the bonnet separately.
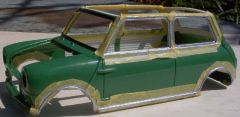 |
Masking and painting silver areas |
As the chrome bits look toylike to my eyes, I always dechrome these parts using bleach and then hand paint by silver. I have a very old tin of H11 silver, which usually works quite well. I think in future though, I will use some of the chrome paints that have become available.
 |
 |
 |
 |
 |
 |